Installing Starlink in a villa is not difficult, but doing it properly is what makes the difference between a stable connection and a frustrating setup that drops out whenever the weather changes or someone closes a balcony door.
In our experience, most Starlink “performance problems” in Dubai come down to one of three things:
- poor dish placement (obstructions and partial sky view)
- heat, wind, or mounting issues (the unit shifts, overheats, or degrades over time)
- weak network design inside the villa (relying on the Starlink router WiFi)
This guide covers the practical steps to install Starlink in a Dubai villa in a way that’s reliable, serviceable, and ready for real-world usage (video calls, smart home systems, CCTV, guest WiFi, and multiple floors).
Why Installation Matters
Starlink is a satellite connection. That means the “last 20 metres” of your setup (mounting, cable routing, power stability, and indoor WiFi design) matters more than people expect.
A typical poor install looks like this:
- the dish is placed on a balcony with partial sky view
- the cable is run through a window or door frame
- the Starlink router is left in a corner of the villa, broadcasting WiFi through thick walls
It might work on day one. But over time you’ll see:
- speed swings and higher packet loss
- random disconnects (especially in wind, dust, or heat)
- “fast internet” but bad Zoom/Teams calls
- dead zones inside the villa even though Starlink itself is fine
Placement Is Critical (Sky View First)
Starlink needs a wide, unobstructed view of the sky. In Dubai villas, the most common obstructions are:
- parapet walls on rooftops
- neighbouring villas and their roof structures
- pergolas, shade sails, and solar lights
- tall trees (especially palms) and garden structures
Roof mounting is usually best because it reduces obstructions and gives you more mounting options. The goal is not just “some sky” — it’s consistent sky view from multiple angles as satellites move.
Practical placement guidelines:
- treat “clear sky visibility” as the primary requirement
- avoid mounting low behind walls (even if speeds look OK initially)
- keep the dish stable (no wobble, no temporary stands in wind)
- plan cable routing before you finalize dish location
If you’re seeing unstable performance, placement is the first thing to verify.
Heat, Dust, and Wind: Dubai-Specific Considerations
Dubai is a harsh environment for outdoor equipment. A proper Starlink install should assume:
- high rooftop temperatures (especially mid-day in summer)
- dust storms and fine sand ingress
- occasional strong winds that shift poorly mounted hardware
What this means in practice:
- use proper outdoor-rated mounting hardware (not improvised brackets)
- secure the mast so the dish cannot rotate or tilt over time
- route and protect cabling so it’s not rubbing, pinched, or exposed to heat hotspots
- keep the setup serviceable (you will eventually need to check or re-seat connections)
A professional installation doesn’t just “make it work”; it makes it stay working.
Power and Cable Routing (Often Overlooked)
Starlink is sensitive to power stability. In villas, problems often happen when:
- the power outlet is shared with other heavy appliances
- there are cheap extension leads outside
- power fluctuates during generator/backup use
For long-term stability:
- use a clean, stable power source
- consider surge protection (especially if you have sensitive network equipment)
- route the cable properly through the villa (not through doors/windows)
Cable routing also matters for aesthetics. Many villa owners want a clean finish — no visible cables, no drilling mistakes, and no awkward entry points. Plan the cable run first, then choose the final dish position.
If the wider home network still depends on a single router in one corner, the Starlink connection will only ever perform as well as the indoor WiFi design allows. That is why indoor coverage planning should sit alongside the external install, not get treated as an afterthought. For the network side of the job, see our WiFi services and WiFi installation in Dubai.
Network Integration: Starlink Should Not Be Used Alone
This is the biggest mistake we see.
Starlink provides internet. It does not automatically provide good WiFi across a multi-floor villa.
The Starlink router WiFi is basic and typically not suitable for:
- larger villas with thick concrete walls
- multiple floors and outdoor areas
- homes with smart home hubs, CCTV, doorbells, intercoms, and streaming zones
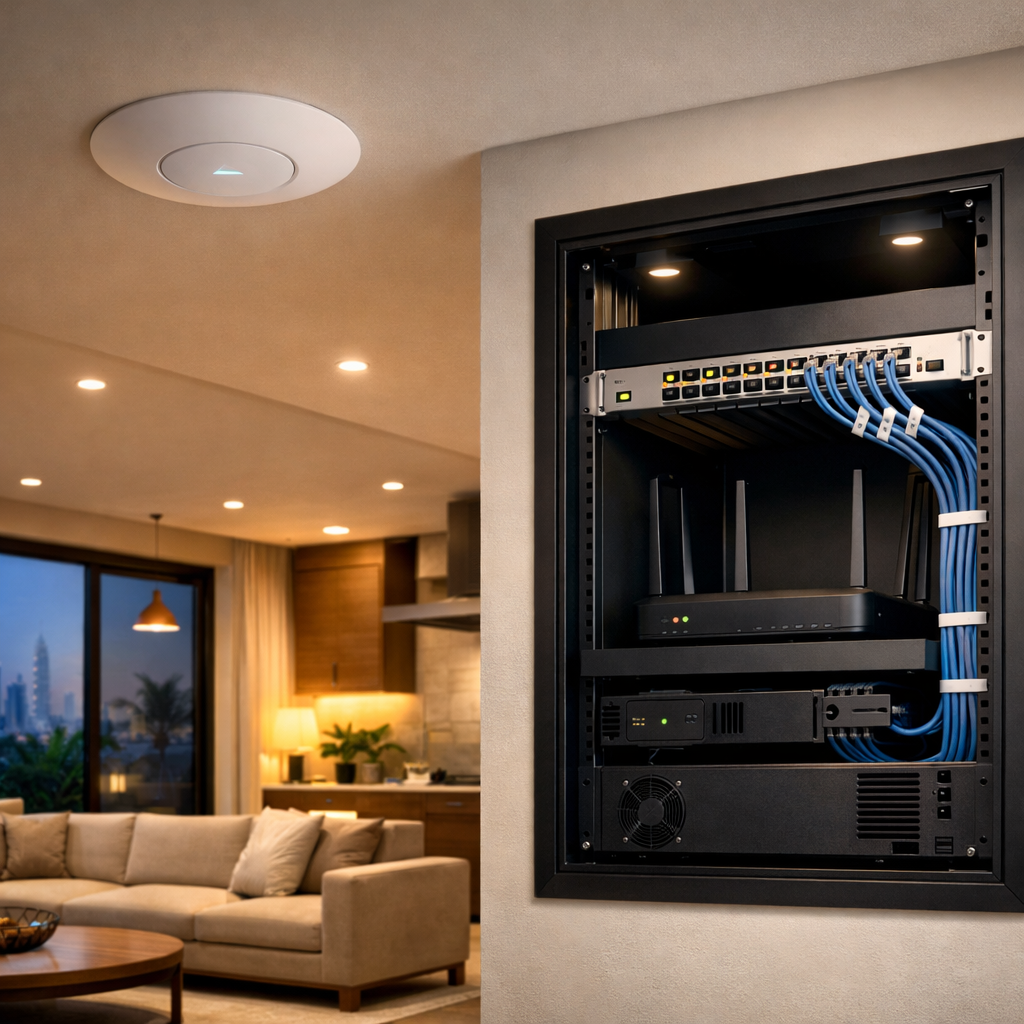
A proper villa setup usually includes:
- a router/firewall (for stability, segmentation, and control)
- ceiling or wall access points positioned for real coverage
- structured networking (wired links to access points rather than “mesh everywhere”)
- optional failover if you later add fibre or keep 5G as backup
This also lets you design your network properly — for example, separating guest WiFi, smart home devices, and security equipment so a single device issue doesn’t impact the whole home.
If you’re building a reliable home network, Starlink should be treated as the upstream connection — not the entire system.
Common Mistakes (and How to Avoid Them)
1) Bad placement because “it works for now”
If the dish is partially blocked, you might still see good speed tests — until satellite paths change, or the environment shifts. Prioritize sky view and stability.
2) Relying on Starlink WiFi for a villa
Even with perfect internet, WiFi coverage fails when access points are not planned. If you care about reliability, design the WiFi as a separate layer.
3) No network design
Homes are now full of always-on devices. A “plug-and-play” approach works for small apartments, not villas with smart systems and multiple users.
4) Poor cable routing
Cables through windows, door frames, or exposed rooftop runs fail over time and look bad. Do it once, do it properly.
What a “Proper” Dubai Villa Setup Looks Like
A common approach we recommend:
- Mount Starlink on the roof with clear sky view and stable hardware.
- Run the cable cleanly into a network location (utility room, rack, or designated cabinet).
- Use a proper router/firewall and integrate Starlink as the WAN.
- Install access points based on layout (not guesswork).
- Validate coverage and handover (indoor + outdoor) and make adjustments.
That gives you reliable internet, reliable WiFi, and a network that can expand later (fibre, 5G backup, CCTV, smart home, etc.).
Need Help?
If you are planning a new Starlink install, start with our WiFi services or WiFi installation in Dubai page to shape the wider network properly.
If you are still comparing options before you install, also read Starlink vs 5G in Dubai.
If you want advice on mount location, cable routes, indoor WiFi design, or backup connectivity before buying hardware, request a consultation.